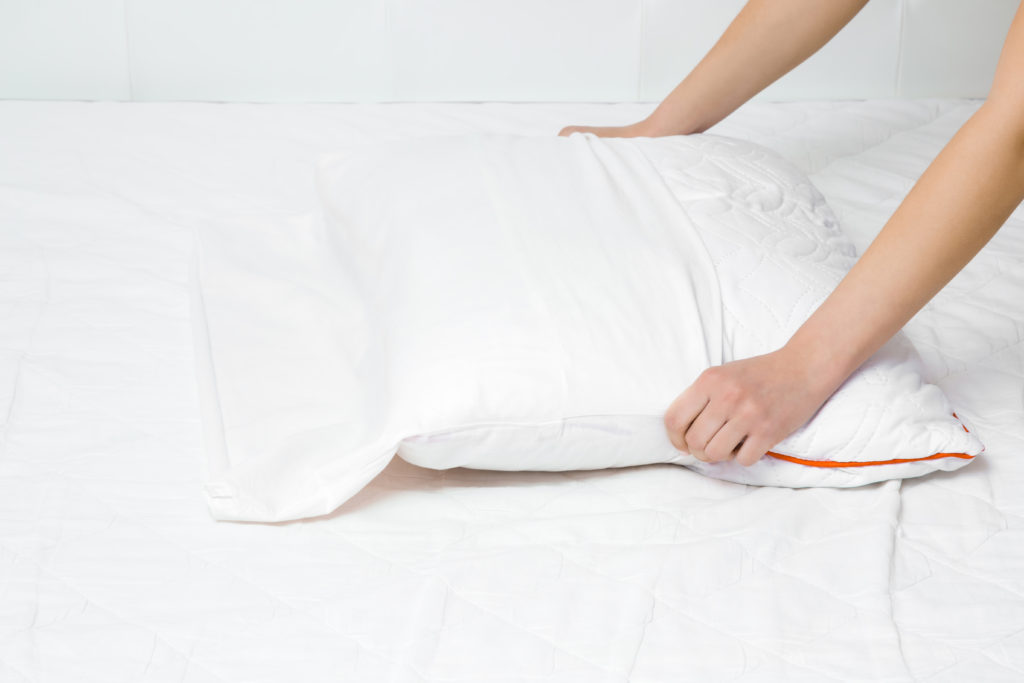
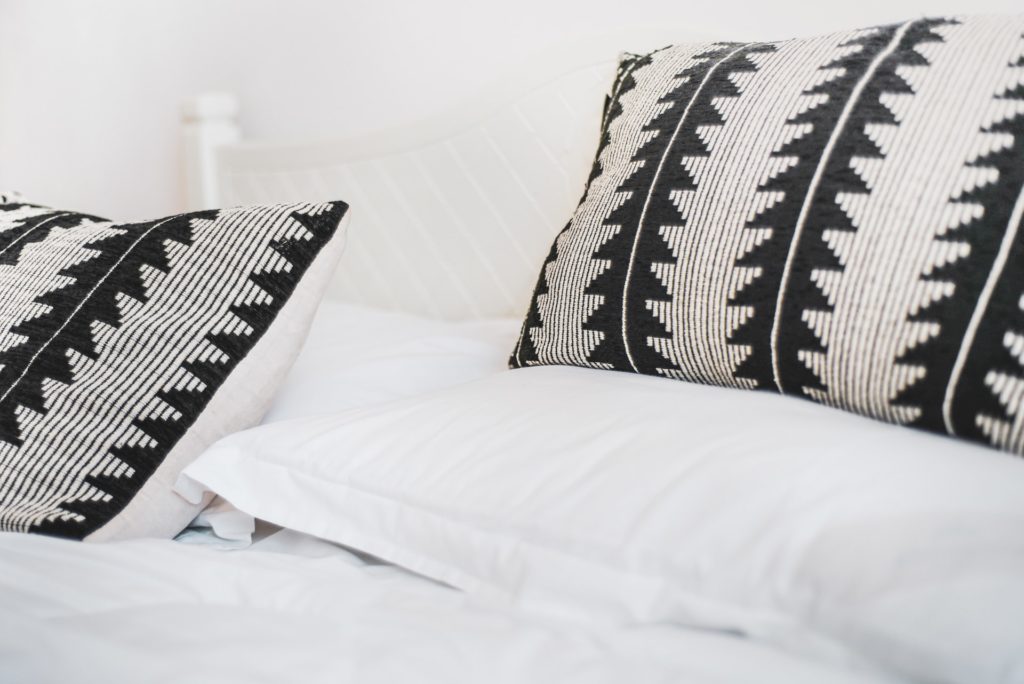
Do you know how to make a pillowcase? You don’t need to buy a pillowcase pattern or learn any super fancy sewing skills. Learning how to sew a pillowcase should be simple for anyone who enjoys sewing or even beginners.

How to Make a Pillowcase: The Benefits
Why would you want to learn how to sew a pillow cover? There is a number of reasons, but here are a few of our favorites:
- It’s fun!
- It helps you practice your sewing skills and keeps them sharp.
- You can create a bespoke look for your home.
- It’s a fun project to do with the kids.
- They can make lovely gifts, especially if you personalize your DIY pillowcase.
Best Fabric for Pillowcases
There are different thoughts on this. Some love satin, as it’s smooth and silky to touch. Others like cotton because it’s breathable. Other fabric options include:
- Bamboo, durable and lightweight
- Flannel, which is warm and cozy
- Egyptian cotton, high quality but can be expensive
If you have allergies, you might want to consider what fabrics are most hypoallergenic or the least likely to gather dust. Changing your pillowcase every 2-3 days can help with allergies, too.
Pillow Case Sizes
Of course, you can make pillowcases any size you want. But, it’s best to check what size pillows you have if the cases are for your bedding. Sizes tend to run as follows:
- Standard pillowcases are 20 x 26 inches
- Queen-size is 20 x 30 inches
- King size is 20 x 36 inches
For a standard or queen-size pillowcase, you’ll need a yard of your chosen fabric. For a king, you need to increase that to 1.25 yards. For the burrito cases (see below), you need extra for the cuffs and trim. A quarter yard of the fabrics you want for the cuffs and trim should be more than sufficient per pillowcase.
How to Make a Pillowcase with French Seams
French seams are a double seam which is enclosed to look very tidy and professional. There are two main ways to make a pillowcase with French seams: The standard and the “burrito” way. A burrito pillowcase (or magic pillowcase) has a cuff and a trim, allowing you to mix and match your favorite fabrics for a little extra versatility.
Sewing pillowcases the easy way means using a sewing machine for the neatest seams. If you are a confident hand sewer, you can make a pillowcase by hand; it just takes a little longer.

Pillowcase Tutorial: The Standard Method
Fabric: One-piece, 41 inches by 31 inches. For any of these pillowcases, add 4 inches onto the lower number for a queen-size or 10 inches for a king-size.
- Start with your fabric print side face down. Your longer sides should be along the top and bottom (not relevant for the king-size).
- Fold your top edge down half an inch. Iron flat. Fold the same edge down four inches. Iron flat.
- Sew this flap down, leaving a quarter of an inch from the bottom edge.
- Fold the pillowcase in half, left to right, so you can now see the print side.
- Sew the right edge and bottom edge with a quarter-inch seam allowance.
- Trim the bottom right corner carefully – don’t cut the threads! Cut about an 8th of an inch off the bottom and right side, just to reduce the seam size.
- Turn inside out and make sure it’s as flat and neat as possible.
- Sew the same edges again, with another quarter-inch seam allowance. This is your French seam.
- Turn your case inside out again, which is now the right way around! Iron carefully, and that’s it. Your very first DIY pillowcase.
Pillowcase Tutorial: Making a Burrito Pillowcase
Fabric: Main piece, 41 inches x 23 inches; Cuff, 41 inches x 9 inches; Trim, 41 inches x 2 inches
- Fold your trim fabric in half with the bright side out, so it’s still 41 inches long but now only 1 inch wide. Iron the trim flat.
- Place the cuff piece face down, so you’re looking at the bright side of the fabric. Pin the trim along the top, with the raw edges upwards.
- Your main piece of fabric comes next, facing down. Line it up with the trim and cuff, and pin it all together. You should have the cuff on the bottom, trim folded in two, and the main fabric on top.
- From the bottom edge of the main fabric, roll upwards, like a burrito. This should reveal the bright side of the fabric to you.
- Once the main fabric is rolled up, you should be able to see the cuff again. Get the cuff and roll it over your fabric burrito, lining up the edges and re-pinning. Your main fabric should be totally wrapped inside the cuff.
- Sew the top edges together, leaving a seam allowance of half an inch.
- You can now pull the main fabric out from the burrito.
- You will see that you now have an open-sided pillowcase, but with a neat cuff and trim. Like magic!
- Now, follow the steps for the standard pillowcase to complete your burrito pillowcase.
Now you know how to make pillowcases! Surprise friends and family with perfect personalized pillows, or make your bedroom the most stylish around.
Takeaway
Learning how to sew a pillowcase is an easy DIY project, perfect for fun with the kids or sprucing up the home. This article teaches you about different pillowcase sizes and how to make pillowcases in two different ways.


